Loading a Revolver
by: Kerry Barlow
Loading a black powder revolver consists of 4 basic steps. Once
you get used to the steps it would not be difficult to manage. In the field
a soldier would become used to loading his particular weapon and could
be expected to reload on a fairly rapid basis. Loading all 6 cylinders in
under 1 minute is certainly not beyond the realm of possibility for an
experienced soldier. Please do not take these steps as a
definitive statement on how to fire any revolver or weapon.Be sure to
get assistance and the specific manufactures instructions before attempting
to load and fire any weapon.
First of all the soldier would place his revolver in the half
cocked position. This is a special loading position built into the revolver. The
soldier pulls the hammer back half way,until it reaches a catch or stop. At
this point the cylinder can be spun by hand inside the frame of the revolver. Rotating
the cylinder manually by hand is necessary for the loading process. The
trigger is locked into a safety position and cannot be pulled to fire the
gun. To release this half cocked position the hammer must be pulled back
further to full cock. The hammer also cannot be pushed down out of full
cock position . The gun would be held vertical with the barrel facing up
during the first 3 steps of the loading process this prevents the ball, and
powder from falling out. Also it should be noted that a 6 shot revolver
normally only has 5 shots loaded unless it is known it will be fired immediately. This
is because you don't want the hammer of the gun resting on a live chamber. The
early black powder revolvers had no safety as it is called today. However
placing the hammer over an empty cylinder works like a safety. The Remington
had a special notch carved in the cylinder between each chamber allowing
all 6 cylinders to be loaded and still have a place for the hammer to rest,
in this special notch.
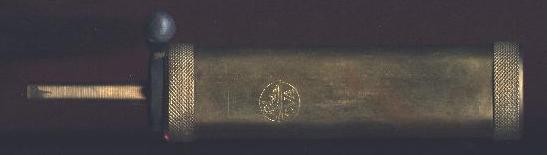
- Pour in the powder; A soldier would
use his powder flask and pour a quantity of powder into his powder measuring
tool. He would then pour this measured powder into a chamber of his revolver. Another
method would be he has already calibrated his powder flask for that particular
firearm and knows exactly how much powder the flask would contain in the
end snout, he could then pour the powder directly into the chamber bypassing
the powder measure. It can be seen that this would speed the process. He
would repeat this for all cylinders he was filling. Please remember
these are only examples and not meant for actual loading methods.
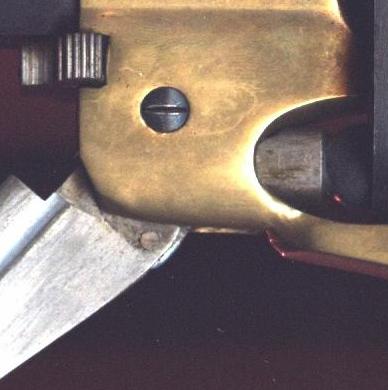
- Load the ball or bullet: The soldier would
now place a ball on the mouth of a cylinder and rotate the ball underneath
his loading lever. He would pull the handle of the loading lever down and
force the ball into the chamber of the gun.through experience the soldier
would know when he has forced the ball tightly onto the powder. A loose
ball is very dangerous and could kill the soldier firing the revolver. A
ball must always be forced tight onto the powder. He would then rotate the
cylinder around until the next chamber was under the loading lever and
repeat the process.
- Apply Grease: Now the important grease is applied to the mouth of each
chamber,over top of the ball or bullet. This grease prevents a Chain
Fire. A chain fire occurs when one cylinder fires, and a flame shoots
backwards and goes down another cylinder causing that cylinder to fire
when it is not lined up with the barrel. This would destroy the gun and
probably the soldier as well! By placing grease over each chambers mouth
any fire will either go out or not pass through the wet grease causing a chain
fire. Grease also helps in cleaning the gun and lubricates the barrel and
bore and cylinder pin allowing many more shots to be fired accurately.
- Attach the caps: The gun is now almost ready
to be fired and can be held in any position to apply the caps, at this
point the balls and powder are pressed into the cylinders so tightly by
the loading lever they cannot fall out. The nipple tool is used to place
a cap onto each chamber of the cylinder. The gun is now ready to be fired.
The hammer would be placed over an empty cylinder or in the case of the
Remington the hammer could be placed in the hammer guard notch in between
the chambers.